We’ve seen a lot of different mini-golf holes built for Putt Putnam County, now in its 6th year. Often questions come up about supporting the playing surface or the sides to keep the ball on the playing surface when building a hole.
We’ve got some general guidelines here, and you can always try searching the internet, but here’s some thoughts on what we’ve seen people create. Really almost anything will work, the piece of plywood with players laying/arranging building blocks at the event comes to mind, but for those that want to make something a little more complex:
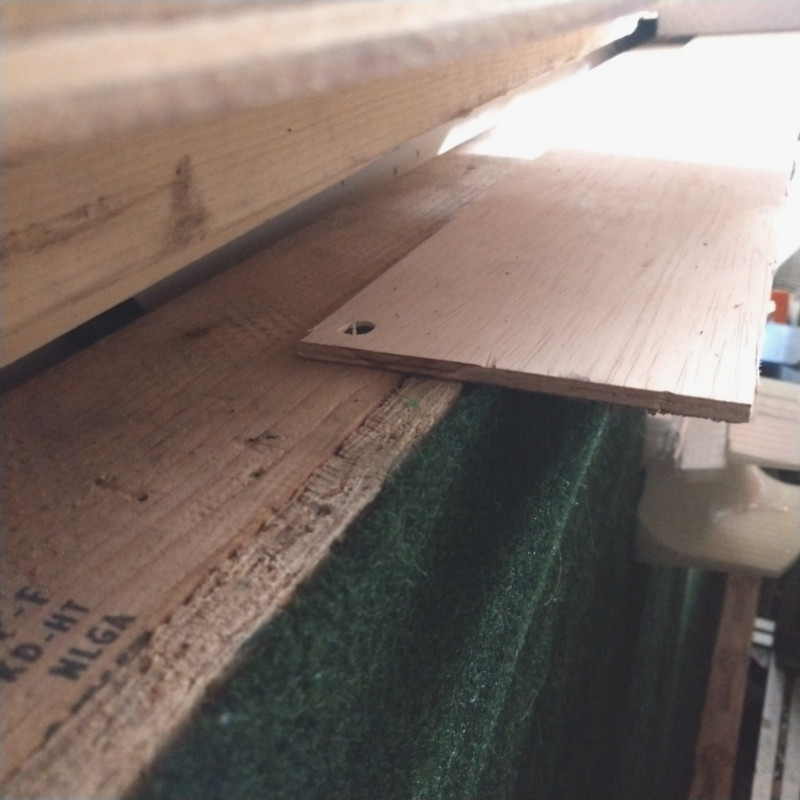
- Many folks use 2×4’s or 2×2’s to raise the playing surface off of the ground to allow the ball to drop into a hole or cup. Do remember that people could be walking on the playing surface depending on your design.
- Others have kept their main surface on the ground, then have the ball hole higher than the playing surface.
- For covering the playing surface, plain carpeting or felt is common. But anything will work, including old fanfold computer paper printouts! Outdoor carpeting that looks like grass can be found and felt is available in the fabric department. Or just paint it!
- You’ll need to get the mini-golf hole to the event on Franklin Street Friday October 7th. Some have chosen to keep them light by using smaller or thinner boards for support. Many times it’s simply based on whatever wood is readily available.
We’re here to help you build that mini-golf hole, both with ideas and suggestions on construction and materials. Stop by during our Open Shop hours or contact one of us.