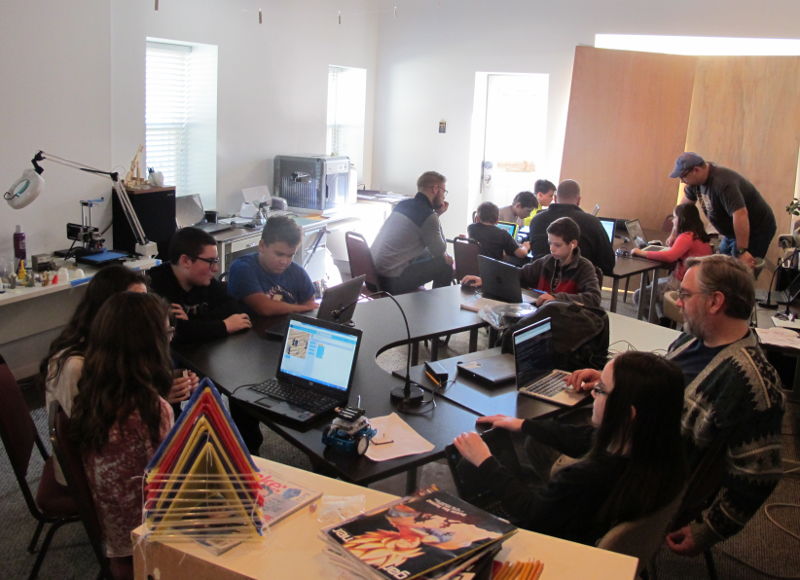
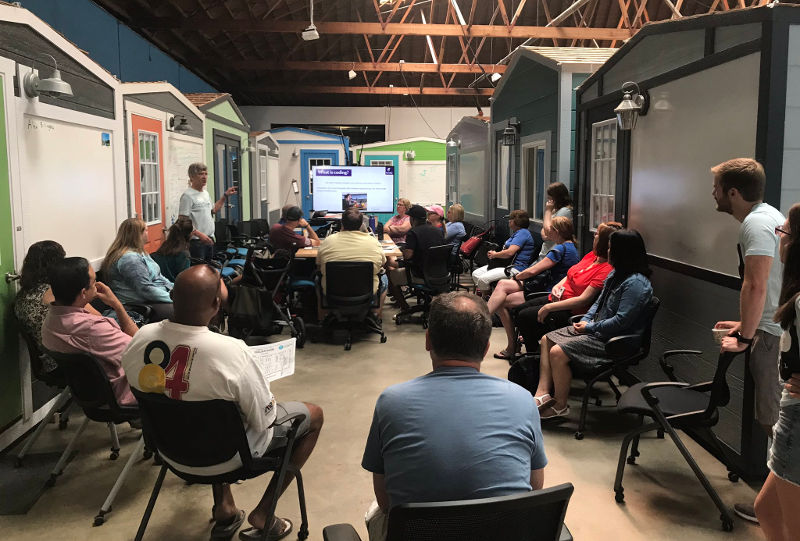
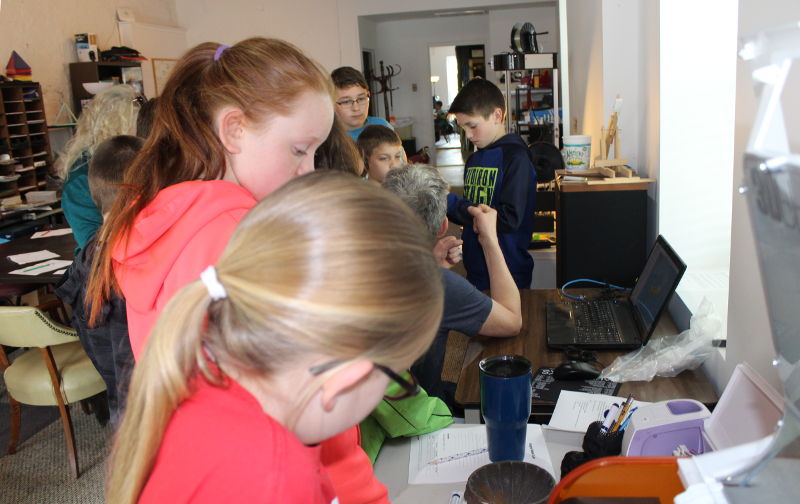
We held our first Artificial Intelligence (AI) / local Large Language Model (LLM) workshop at Castlemakers last Thursday. The focus was on downloading & creating an AI LLM local model using Ollama on a Windows PC, but given the target audience (those unfamiliar with AI) we used a ‘docker’ to keep it simple and spent a lot of time explaining all of the terms involved.
Attendees discuss what’s involved in a LLM.
We decided to try a more cutting edge topic to expose people to AI and open source LLMs – plus help people realize it’s not as hard to do as it might seem. Having someone in our midst, Ian, that has been trying and using the different models also really helped! Folks attending had an option to take home a USB drive loaded with the software to install and try the software on their local computer at home.
If you’re interested in the topic, stop by Castlemakers during our Open Shop hours – we still have the system installed on a surprisingly small computer and with the Ollama interface you can try different open source LLM models on a local pc. It’s a great way to learn and experiment with something that will be effecting all of us already and in the coming future…
Not surprisingly given some of our member’s interest in software, there’s been a lot of discussion at Castlemakers about Artificial Intelligence(AI). We started experimenting with machine learning, an application of AI, several years ago in a squirrel proof bird feeder. And since two of our members work with software it’s been a hot topic during a lot of Open Shop times recently.
Screenshot of Ollama running TinyLlama on a local i5 Windows PC at Castlemakers to test local AI queries.
Many people don’t realize how rapidly using Large Language Models (LLM, but for that matter all AI) is becoming possible using smaller computers. One of the big changes has been open source software that provides installation capabilities and a front end for the LLM that you can run on a Windows/Linux/Mac machine.
Which has led into a workshop/class on the subject in June. It started as a way for more of us to learn about running an open source LLM on a workstation or laptop, but realized there might be more people that would like to find out more on how easy it is to set one up on a local computer. So June 20th at 7 pm we’ll be having a small class in using Ollama to install an open source LLM on a Windows PC – please check our Classes webpage for more information and to make reservations if you’re interested!
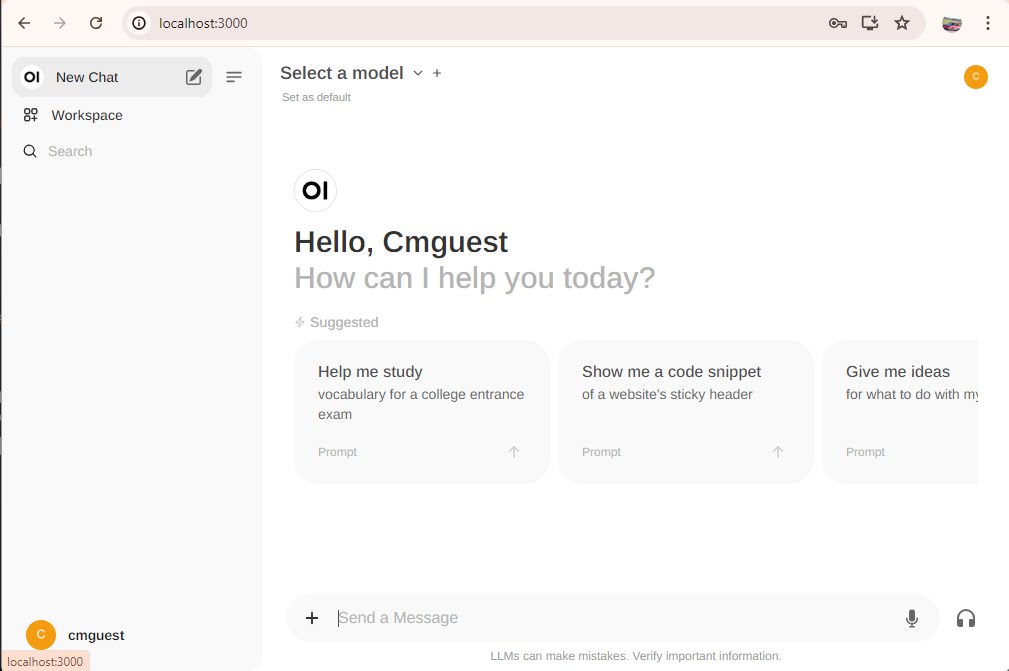
One of the longer term projects I’ve been working on at the makerspace is a squirrel proof birdfeeder that uses machine learning to identify squirrels vs birds, then make a noise when those darn squirrels try to get a snack in the birdfeeder!
Bird feeder without the onboard ESP32-EYE camera housing, which will be mounted on the right side.
The project goes back a few years when I stumbled across a Google project to make a design using a Coral development board to accomplish the same thing. Since we had the equipment to make most of the components at the makerspace, except the development board, I started making one and looking into improving their idea.
First minor change was an error in the CAD files, which I’ve corrected on my GitHub. It also seemed like the board they chose was overkill, I had wondered about using a Raspberry Pi, but then Brian pointed out it might need a board with a better GPU. Ian mentioned the ESP32 board/chip could run TensorFlow Lite & might do the job. Cost of the ESP32 boards was appealing, so I started going down that path even though I didn’t know much about the subject at the time!
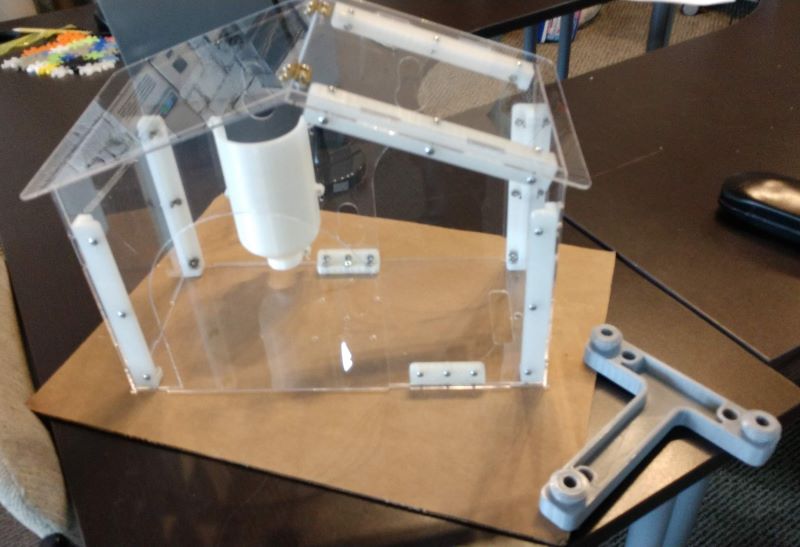
ESP32-EYE image from the bird feeder. The onboard facial recognition software generated the yellow box.
I made was the birdfeeder housing and seed holder well over a year ago, which turned out quite nice. But the ESP-EYE housing got complicated between mounting locations, how to power the device, how to create the noise and lots of other distractions, so it got put aside a while ago until I could get back to it. Earlier this month, with some help from a student working at the makerspace, I started working on it again creating a prototype housing for the ESP-EYE v2.1 board in Fusion360 and restarting the work on the software.
It’s now at the point where it’s taking pictures and we’ve begun training the software to identify squirrels (cat pictures work pretty well). It still needs more work, and I’ve gotten other projects that need finishing first. But I’ll put a page on our website when more details are finished. Or stop by our makerspace & we can show you the progress in person!
Besides having a lot of physical tools & hardware at Castlemakers, we also spend a lot of time with software. For many of us making physical things is a lot of the enjoyment, but in today’s world many of the newer tools use software to control the machinery and the product design is often created in software also.
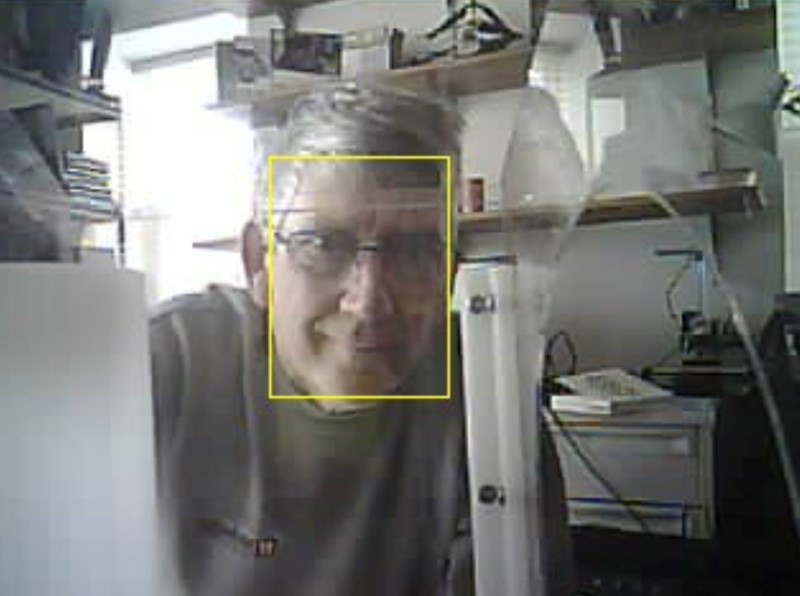
Our CNC using software to machine aluminum.
This ‘fusion’ of software and hardware is what gives many of the newer tools we have their power; whether it’s 3D printers, our laser cutter/engraver, desktop CNC’s, or even some of our electronic test equipment. Knowing how to use that software to its full advantage can make things simpler to create or even create a more innovative design possible. Skilled makers will combine that knowledge with the older hands-on skills; for example, knowing how a kerf will impact the final piece when you a laser cut wood.
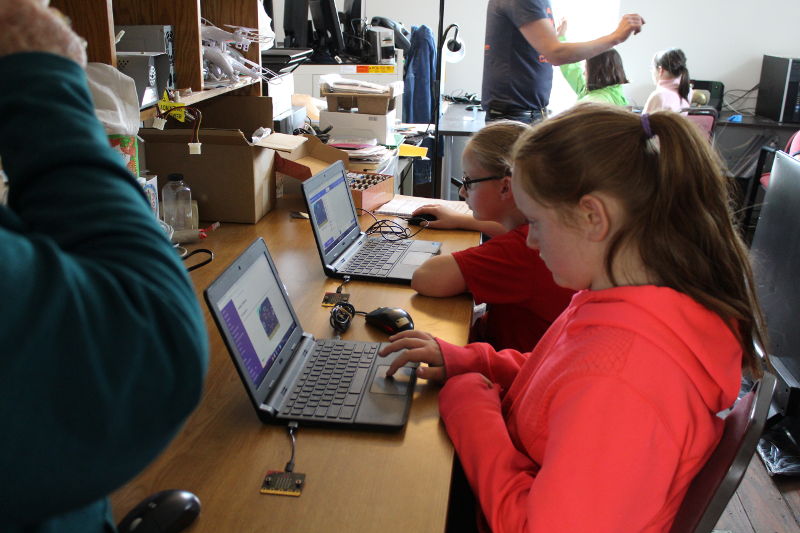
Castlemakers CoderDojo youth coding club.
Many of our classes, like our upcoming Fusion 360 class, help others to learn the software that can be used to design and create digitally and then later into actual objects. And our monthly Castlemakers CoderDojo helps youth learn about coding to create computer programs, online environments, and even coding with physical computing. Stop by to see some of the creations or attend one of our events or classes!
LED lamp at Castlemakers in Rainbow mode, the colors change continuously in this video.
Pointing out the new ping pong ball lamp in the Castlemakers window on Franklin Street is a natural follow-up after writing last month about the micro:bit in the window. It’s a great fun, low cost project built by one of our member with items found at the makerspace, except for the ping pong balls.
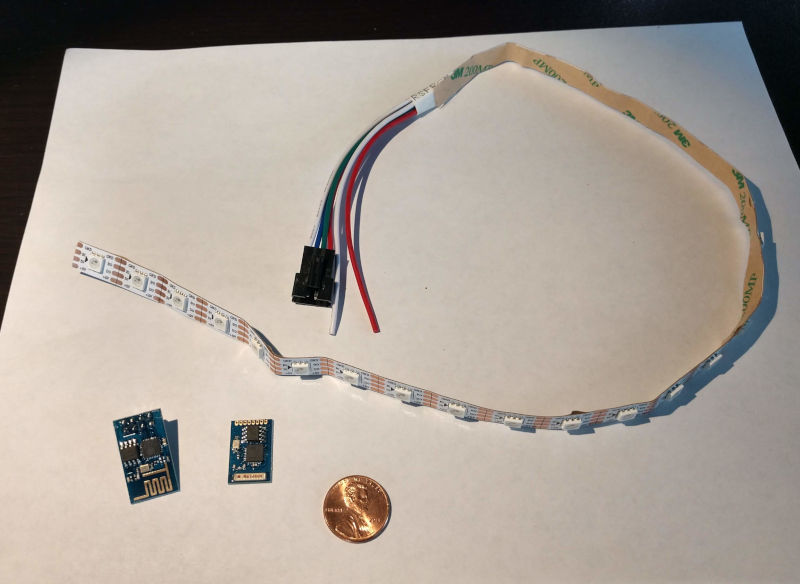
Example lamp components, penny included for size comparison to the ESP8266 modules.
Recently several of us started experimenting with ESP32’s, a ‘system on a chip’ device that’s less than $10. I’m working on a squirrel proof bird feeder using an ESP32 with a camera for squirrel recognition, more on that later. This project is built however with an ESP8266 module, predecessor of the ESP32, which cost even less. The ESP8266 modules, bought some time ago for $4, are still quite capable having both wifi and a control channel built in. Ian, who’s known to build things for the heck of it, turned an ESP8266, a bit of leftover led strip lights, some 3D printing, ping pong balls and some glue into a flashy user controlled lamp!
Webpage for lamp controls if you’re logged into our network.
There was mathematics involved in figuring out the right way to spiral the LED strip up the side for tight ping pong ball spacing, which depends on the diameter of the 3D printed cylinder. What’s also impressive is the built in web server. If you’re at the makerspace and logged into our network, type http://pingpong1.local to change the lamp pattern. Pretty darn impressive for a $4 circuit board!
We’re thinking about creating a class to help folks build these. If you’re interested stop by to let us know, post on this blog or send us an email.
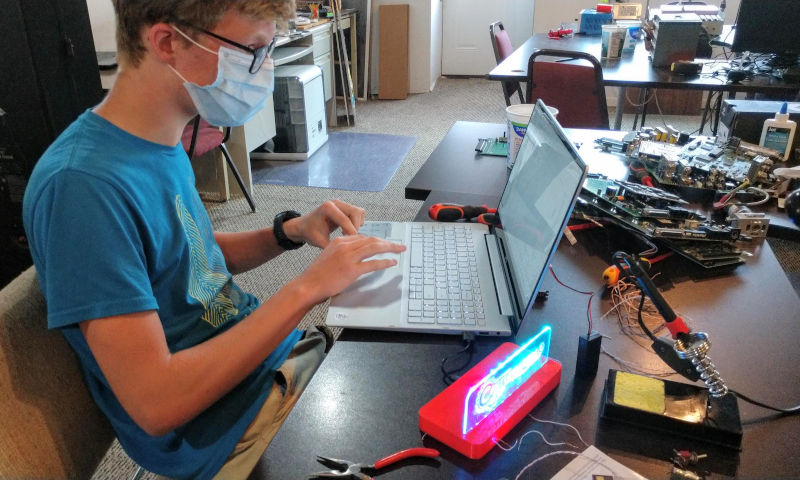
We’ve still had projects at Castlemakers this summer, even with the Covid shutdown hampering our hands-on education efforts. One that I’m excited/impressed with is a high school student built project that includes programming, electronics, 3D printing and using a laser cutter – all made with items at the Makerspace!
Programming the micro:bit to control the LED light strip using MakeCode, a block based programming language.
Ever since we gave every 6th grader in Putnam County a micro:bit last year, we’ve wanted to do more micro:bit projects to help youth and adults see the power of microprocessors and IoT devices. And to get a chance to expose and use some of the some different fabrication tools often found in a makerspace. This summer Hunter Miller made a really interesting project, an edge lit sign controlled by a micro:bit. It looks a bit like an emergency exit sign with a disco like effect and instead our logo on it.
The design and case was modified from something created at the Cambridge UK makerspace, who was looking to create something to experience the different makerspace tools. We used our 50W CO2 laser to cut and etch an insert for a 3D printed case that with led lighting on the edge makes our logo stand out. Hunter, who was looking for something else to do this summer, then cut a section of a 2m LED strip and after some soldering connected the wires directly to a micro:bit. Then he wrote a micro:bit program using MakeCode that makes the LED strip change color and intensity.
Color scrolling mode using addressable LED strip controlled by a micro:bit.
It’s on display right now in our front window on Franklin St. Stop by and take a look or come in and we’ll show you how it works – the different lighting modes may have you dancing!
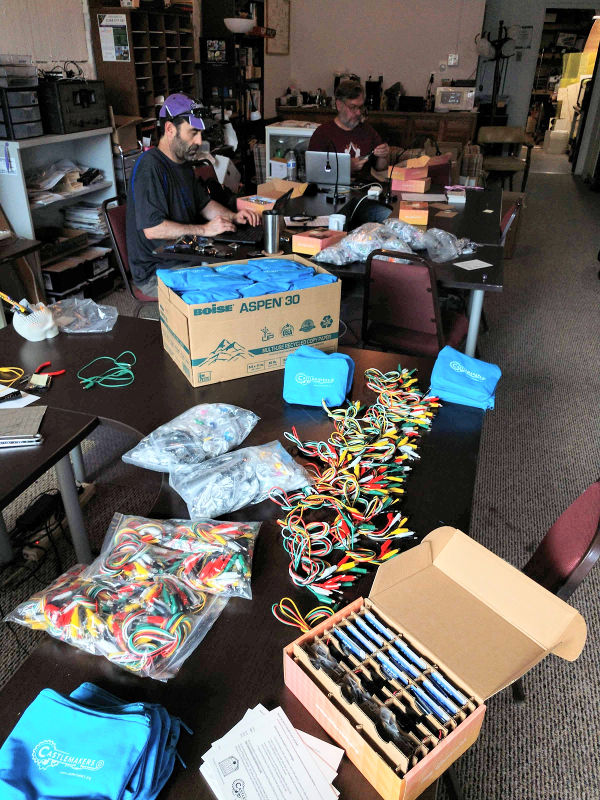
Ian Girvan and Brian Howard updating & testing each micro:bit before packaging.
With the Putnam County Microcomputer Initiative (PCMI) roll out and distributions, October has been a blur and our blog has fallen behind. A lot still happened, like Putt Putnam County and the PCPL annual Halloween party, but we’ll cover it in future blog posts.
The PCMI started in 2018 from internal discussions about the technology gap in rural communities and how to get more folks interested in technology and coding, especially youth. PCMI was born after seeing a demo of the BBC micro:bit at the 2018 Hackathon in Indy – it seemed like a potential solution! Thought why not put a simple-to-use single board computer, in this case a micro:bit, into the hands of Putnam County youth so they could learn and use them?
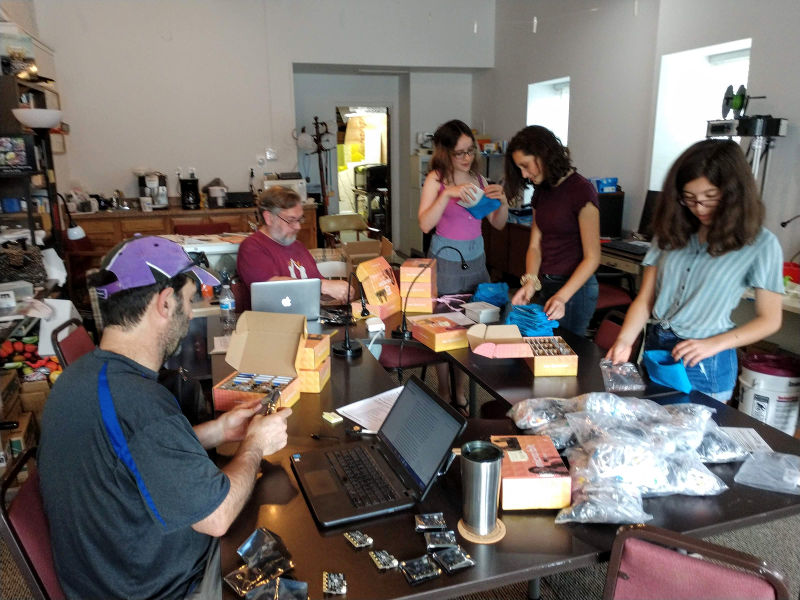
We set up an assembly line to put together all the parts for over 500 PCMI kits.
After researching the micro:bit further and writing a Techpoint Foundation for Youth grant to get 10 for first hand experience in our CoderDojo, we decided to use a variation of what was done in the United Kingdom. We would give them directly to all 6th graders in Putnam County. The device is already being used in some US school systems, including NYC’s Computer Science for All and some Project Lead the Way classes, but with Indiana’s computer science curriculum under revision we were hoping for a quicker jump start so folks could recognize the significance of physical computing and that it doesn’t have to be difficult!
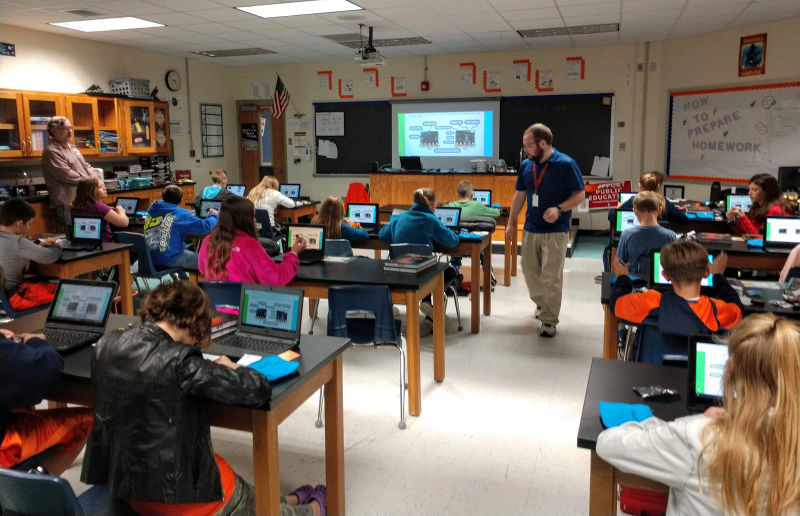
Matt Couch goes over the micro:bit /PCMI kits in his North Putnam science class. 3 other Putnam County schools helped.
Luckily for us the Putnam County Community Foundation understood the importance and was willing to fund our idea. All four school systems were also willing to help – so we’ve been rolling out micro:bit kits to the 6th graders in Putnam County during October. Our last distribution, to home school kids at Putnam County Public Library, is on 11/4 and we’ll also be having a community session for parents and anyone else interested at Ivy Tech Community College in Greencastle on Monday November 4th at 6:30 pm. Seeing the excitement of the 6th graders getting and exploring their devices has been a real treat!
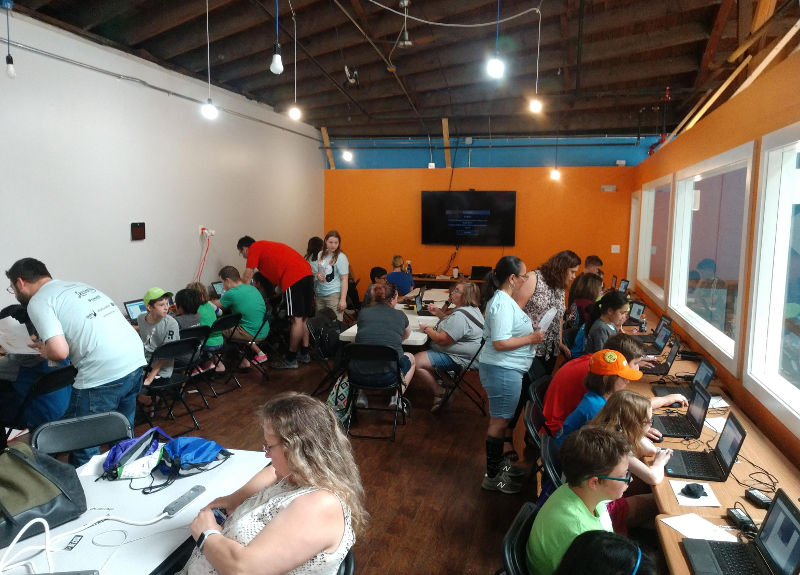
2019 CoderDojo Hqckathon opening session at Developertown
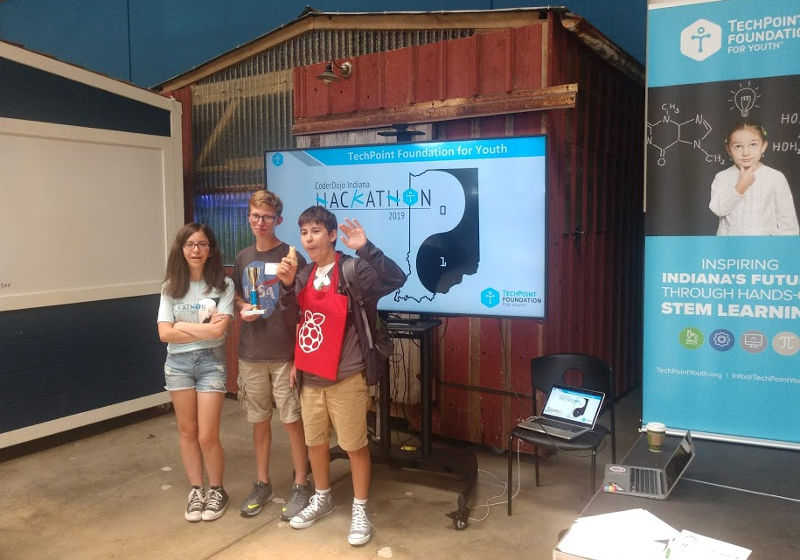
July 20th we participated in the 3rd Annual Indiana Youth Hackathon in Indianapolis. This was the 3rd year our CoderDojo attended and this time, several of us were volunteers also. The 2019 event was bigger than ever, even people from the CoderDojo and Raspberry Pi Foundation flew in from California to attend. The CoderDojo movement, which started in Ireland, is now in 102 countries and is an international organization. Many people don’t realize Indiana has more CoderDojos than any other state in the US!
Castlemakers CoderDojo Participants Rebecca, Hunter & Ty at the 2019 Hackathon (Alice & Mason not pictured).
Attending a ‘hackathon’ might sound a little intimidating to some, but it’s really a fun event where kids can meet, work with other kids (and adults) to learn and show off their computer coding skills. While there are judges and trophies involved, most of it is a non-competitive event where you can learn and ‘show off your stuff’ to others. Giveaways (and there were a LOT), t-shirts & stickers, free food… no wonder there was a waitlist to attend this year.
MoonHack activity in the afternoon session.
There were three programming tracks this year: Javascript, Python, and Scratch. Youth worked on a series of challenges and received points for completing the task & for the best solution. Trophies were awarded to those with the most points. The kids did not need to know their chosen programming language in advance; many were there to just learn more about the language. Along with the programming challenges there was also a project expo this year, where people could show off what they have done.
CoderDojo for Parents session was led by Chris Hebb with help from Christina Foust from the Raspberry Pi Foundation.
There were also drop in sessions – for example a morning session for adults wanting to learn more (CoderDojo 101 for Parents) and an afternoon session called Moonhack. Moonhack was a challenge/task to program a lunar buggy to travel across a lunar surface (that day was the 50th anniversary of the lunar landing after all) in Scratch or Python with lots of volunteers there to help them complete the coding. Parents 101 was as it sounds, a session to explain CoderDojos and answer questions. We even had a few that were interested in starting one where they lived.
We often get questions about when to visit Castlemakers; the best place to start is our events webpage. You can drop in during Open Shop or also attend one of the events listed.
4th Graders from North Putnam learn coding on a micro:bit
Kids test their designs with different size & weight projectiles.
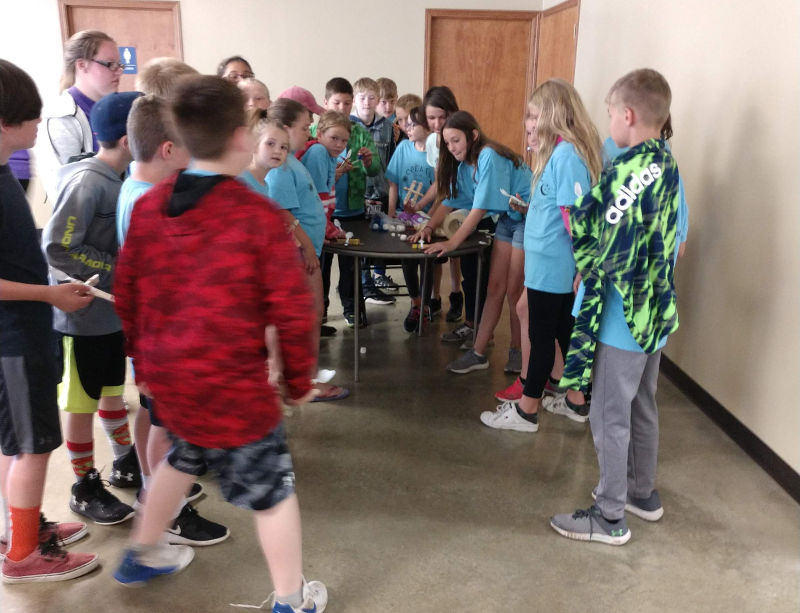
For people not familiar with makerspaces, they may not realize everything going on. For example, limited ‘retail’ hours (what we and other makerspaces often call Open Shop time) reflect the volunteer nature of them. There are lots of passionate people and activities going on outside those times, often working individually and with other organizations.
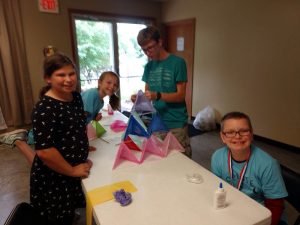
Two teams combined efforts to build a 10 cell tetrahedral kite.
For example, in the last 2 months Castlemakers worked on a number of youth-oriented events not listed on the webpage or on social media. Just a few weeks ago we were out at Heritage Lake working with over 50 kids at Putnam County Kids Count helping younger kids build and test catapults, then the older ones build and fly tetrahedral kites!
Another outreach event involved 2 other organizations in early May: Castle Arts and Putnam County 4H. Thirty North Putnam School Corporation 4th graders came to downtown Greencastle to learn about computer coding. While one group learned and used a robot at the 4H office to sort and count chips, the other group was at the Makerspace.
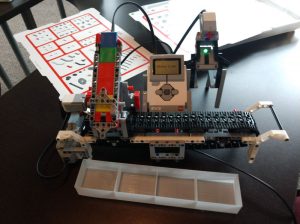
This robot was coded to put each color chip in a different bin.
Christian Destremps did a fabulous job teaching them algorithms/coding around the corner at the 4H office using Lego EV3 kits built into a color chip sorting robot. Castlemakers helped with assembling his robot design and 3D printing bins to catch the different colored chips.
Learning how G-code is used in 3D printing.
At the Makerspace we showed them how coding is used in 3D printing, laser cutter/engraving, and CNC machines. One section saw the coding (G-code) in action with our makerspace fabrication tools. At the same time the other section programmed a micro:bit, a small micro-computer board, using a block-based coding editor.
It really demonstrates what can happen in our community when different organizations pool their resources together. You’ll be hearing a lot more about the micro:bit board in the next few months here in Putnam County.
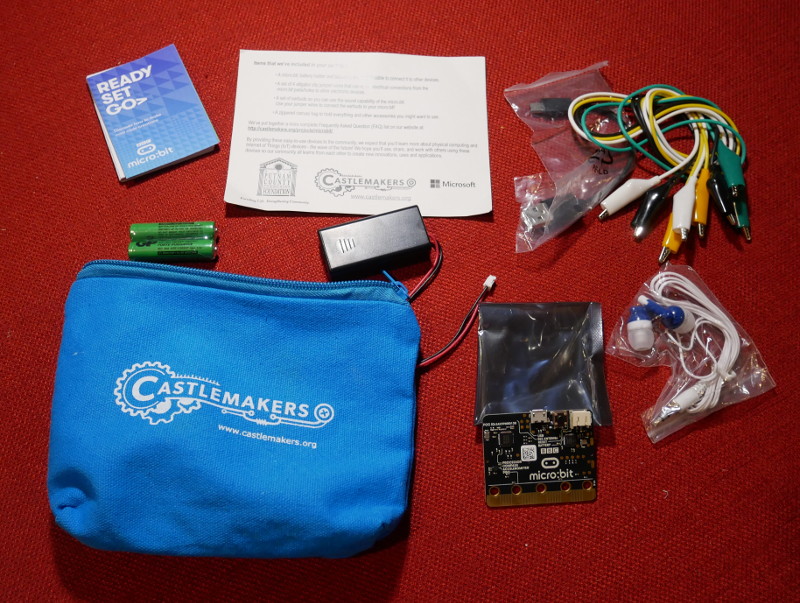
PCMI package distributed to 6th graders in Putnam County.
The Putnam County Microcomputer Initiative (PCMI) was created to generate interest in physical computing in our area. The initiative was funded by the Putnam County Community Foundation on 6/7/19.
The idea is fairly simple: in the fall of 2019 we gave away a micro:bit to every 6th grader in Putnam County through the four Putnam County school systems and the Putnam County Public Library. Since then we’ve provided these kits to other organizations in our area. You may also be interested in our CoderDojo and Pi Makers meetup.
Resources/links for this initiative may be helpful for anyone interested in more about the micro:bit device. Since our initial distribution there has been a micro:bit upgrade to V2 (although still very hard to get), which added several features including a microphone & a speaker. More specific differences can be referenced here, but functionally they are the same and look very similar.
You can read about getting started with the micro:bit here. Please note you can also ‘pair’ the specific device to your computer, which lets you download directly to the device & not have to use the drag/drop feature.
micro:bit features may help you understand the sensors and has some simple projects to help you try them out. This webpage has instructions for hooking up earbuds or speakers to use the micro:bit sound output!
MakeCode is the block-based code editor from Microsoft that works with the micro:bit and some other devices.
There are other programming languages that can be used on the micro:bit. Go to the micro:bit code page for descriptions/links. The online MakeCode editor (and an available downloadable version) has tabs that will let you see and program in Javascript and Python.
Hardware geeks: here’s the reference material, including input/output pins and much more. This website has been updated for V2, but if you dig around you can find information on previous versions.
Like a challenge? If you look in the Castlemakers front window on Franklin Street there’s a micro:bit running with a scrolling text display. By using another micro:bit to send a text message, you can remotely activate lights and sounds inside the makerspace! Here’s a hint on how to do it at the end of a blog post…