 As Castlemakers moves from a youth oriented makergroup to an all ages Makerspace, we’re not neglecting our roots – offering kids interesting hands-on STEAM activities. Last month, for on one of our ‘un-making’ events, we used weed whackers to expose kids to internal combustion engines. It seems like small 2-cycle engines are a throw-away commodity anymore, so after collecting 8-10 weed whackers (and one lawnmower engine) we had everyone tear them apart to see what’s inside.
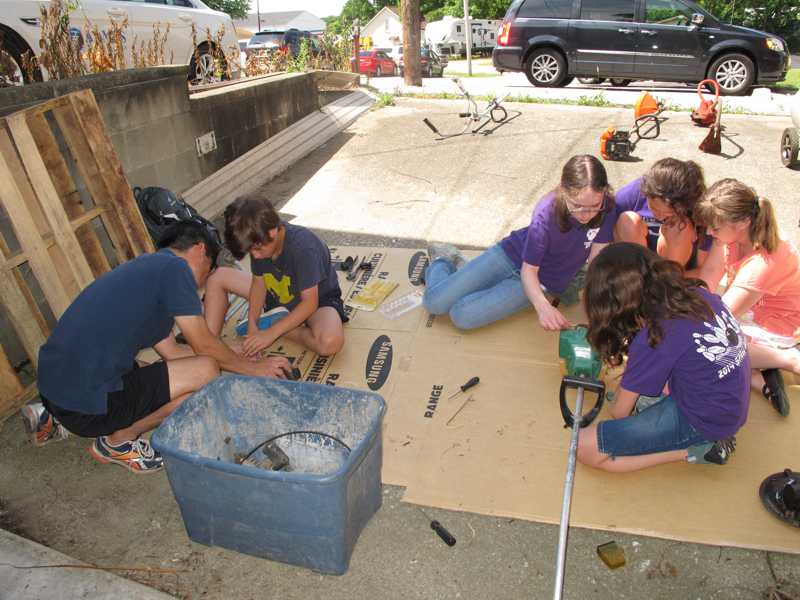
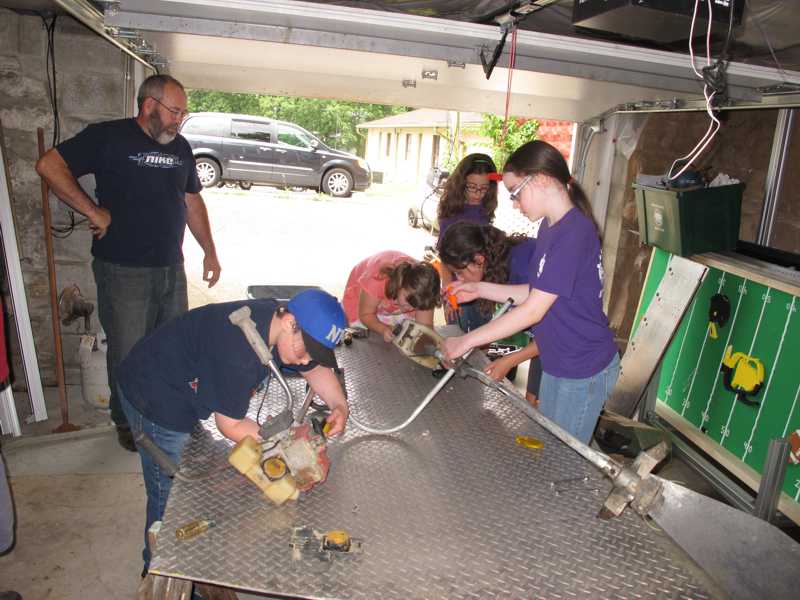
Tear down days are always popular, and surprisingly the girls outnumbered the boys for this one. With everyone being warned in advance to wear old clothes we threw down several pieces of plywood and cardboard out back, put a bunch of tools out to help, then let them go at it with some occasional supervision & suggestions.
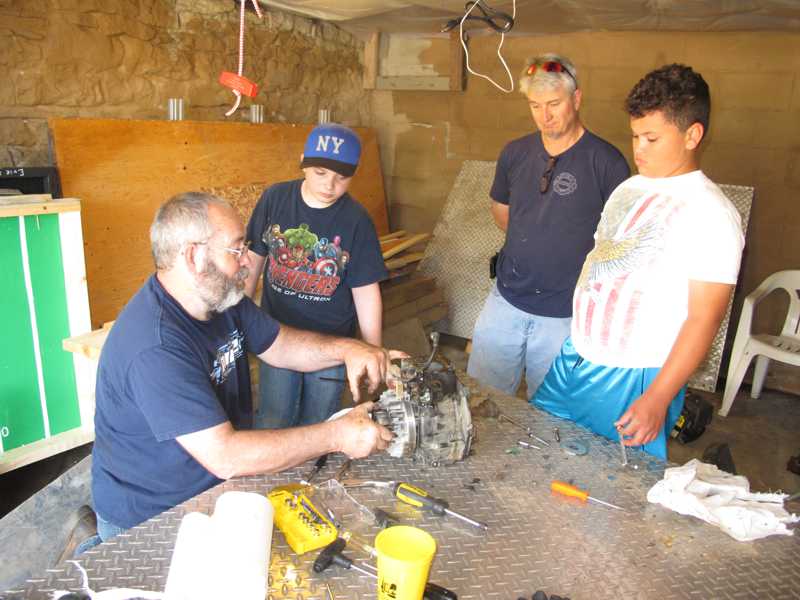
These single cylinder engines seem to be the perfect size for kids. We began by removing the pulley and clutch off the engine. After explaining how the piston pulls fuel into the cylinder, you can explain how an engine is a controlled fuel explosion. Centrifugal clutches & carburetors were another whole discussion. After piston removal everyone seemed fascinated by how the crankshaft/rod converts the linear piston motion into rotation. A few of the piston/rod/crankshaft mechanisms were saved (although several went home), it’s a good tie into the paper mechatronics we did last year.
 Special thanks to Doug Salter, a 25+ year mechanic at Ryder Truck, who donated at least half of the weed whackers and also helped by coaching the kids on disassembly and how the parts inside worked. And another nod to Jerry Hecko, our makerspace automotive repair shop neighbor, who gave us the 4 cycle lawnmower engine for comparison and often has the right tool when we don’t have one.