Around the holidays we try to offer holiday themed classes & this year was no exception. In December we chose to offer another glass fusing & slumping class to make glass ornaments along with a requested 3D printing class.
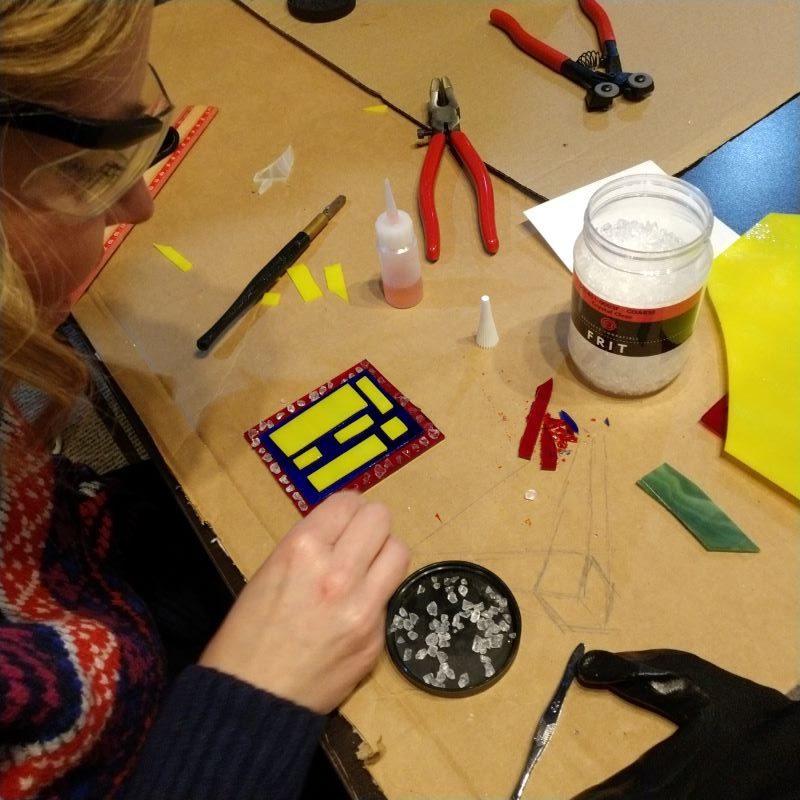
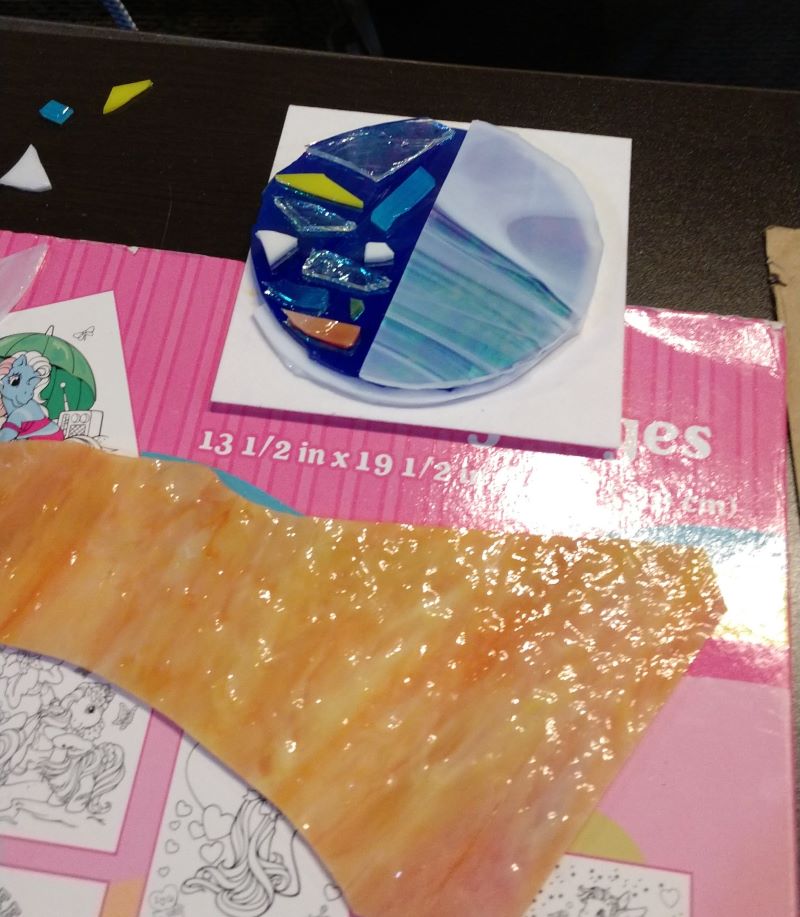
We’re still learning and experimenting with the kiln donated last year. In the glass fusing class we were able to add some new materials in this class, glass Frit. It looks like colored glass pellets, and for folks that sprinkled it on their designs before fusing it gave an interesting effect. We used a high enough temperature with the kiln that it frit was really absorbed in the base glass, but we’ll be doing more experimentation in the future.
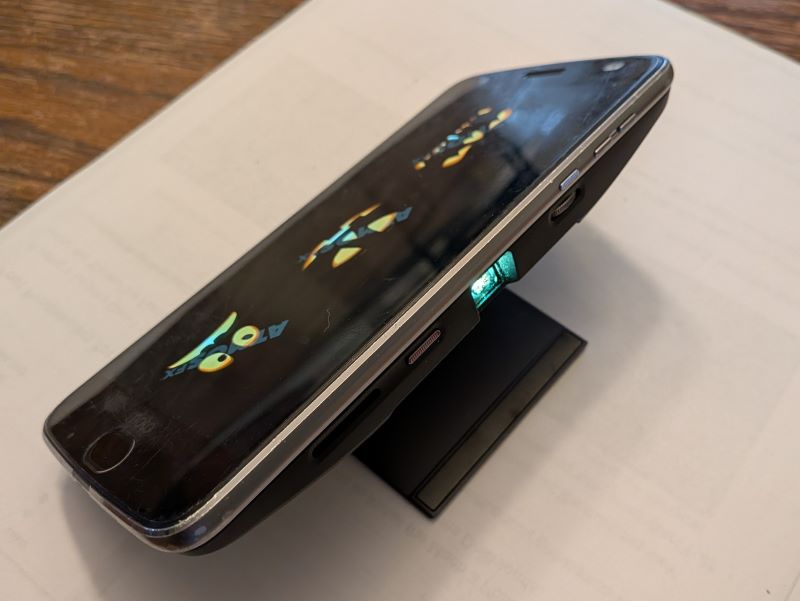
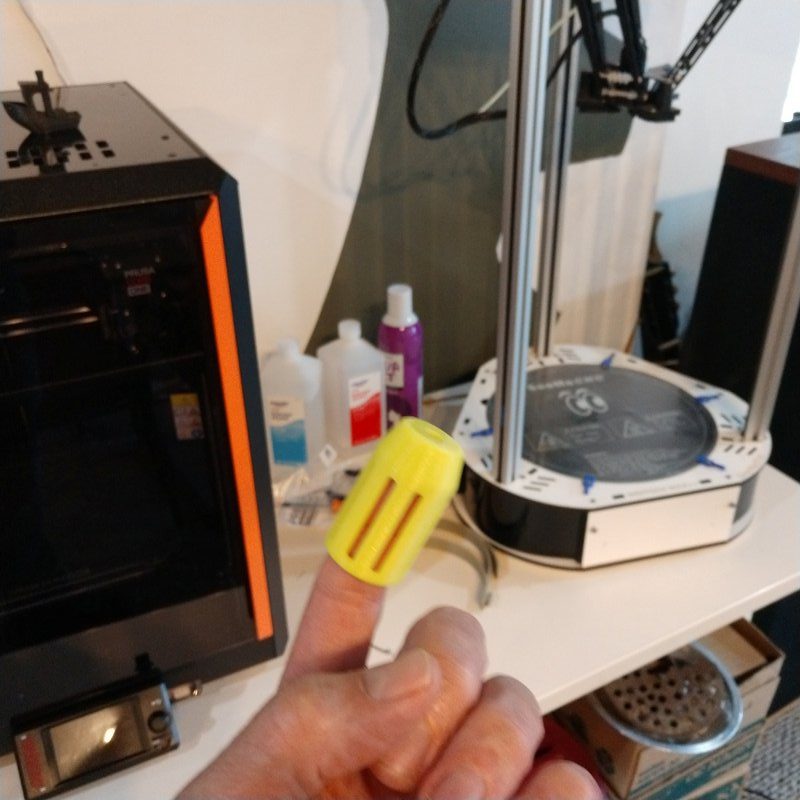
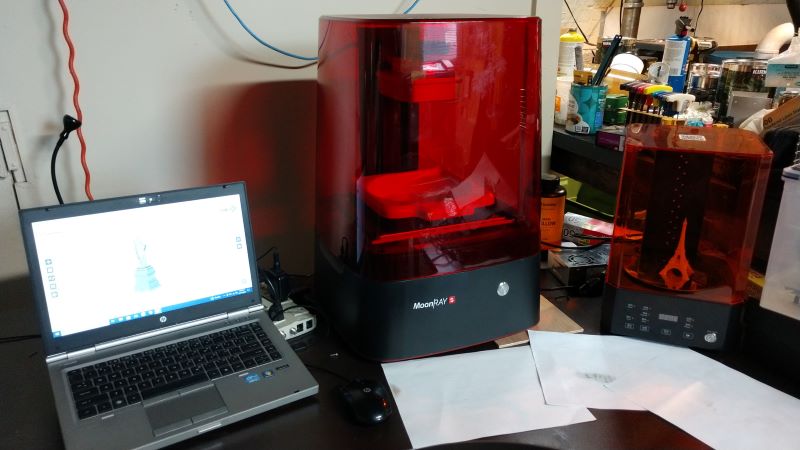
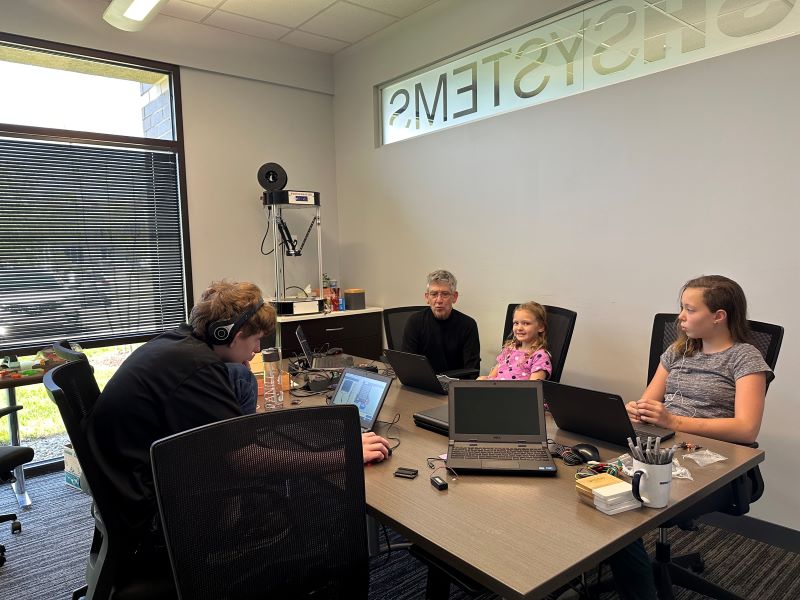
In this month’s 3D printing class we also did ornaments, like what we’ve done in the past 10 years. The folks attending were interested in the basics, so that’s what we did. But 3D printing has become a lot more popular and techniques have advanced significantly, so we’ve been considering offering a more advanced class or one that gets into more depth and advanced techniques. We could also offer a liquid resin 3D printing class if there’s interest, let us know if you’d like us to offer either class.