Category Archives: micro:bit

Learning at the worksite

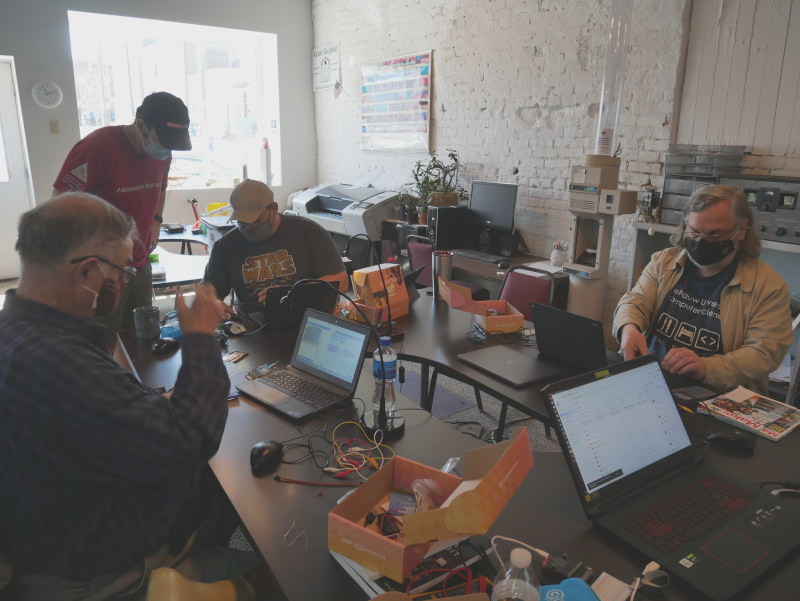
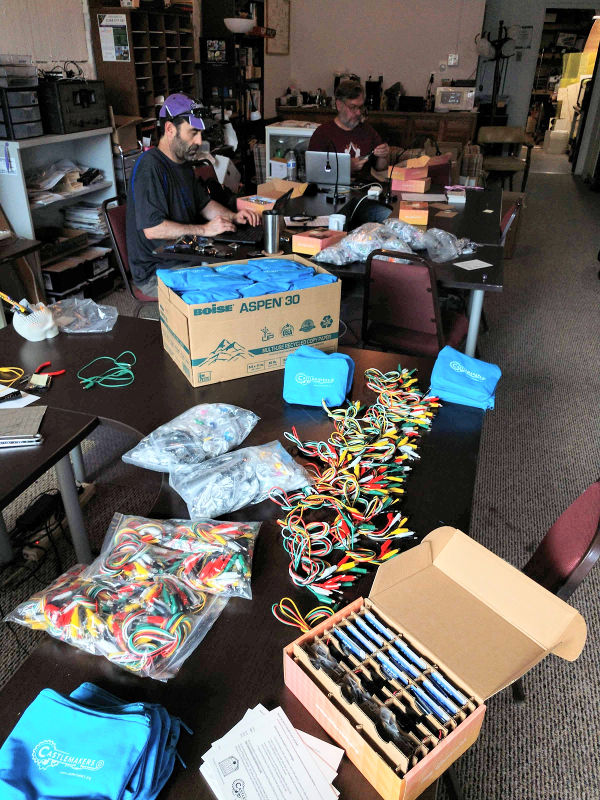
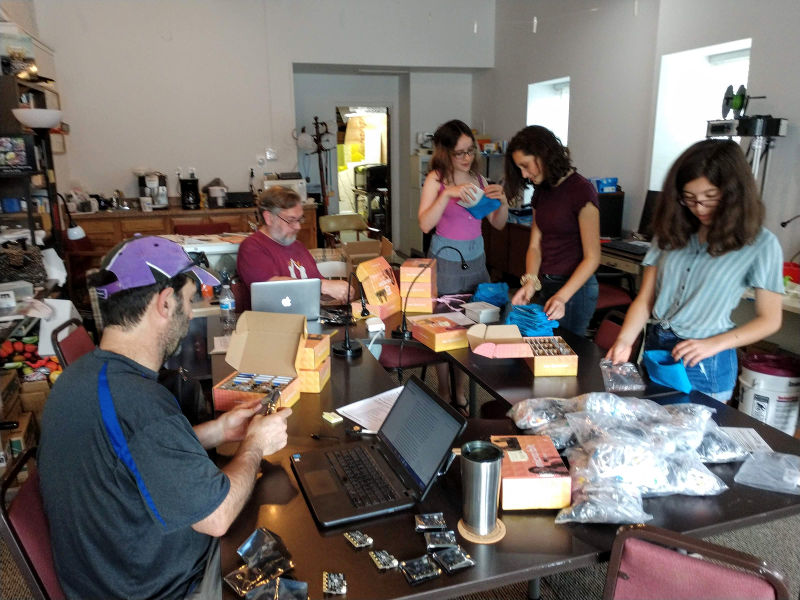
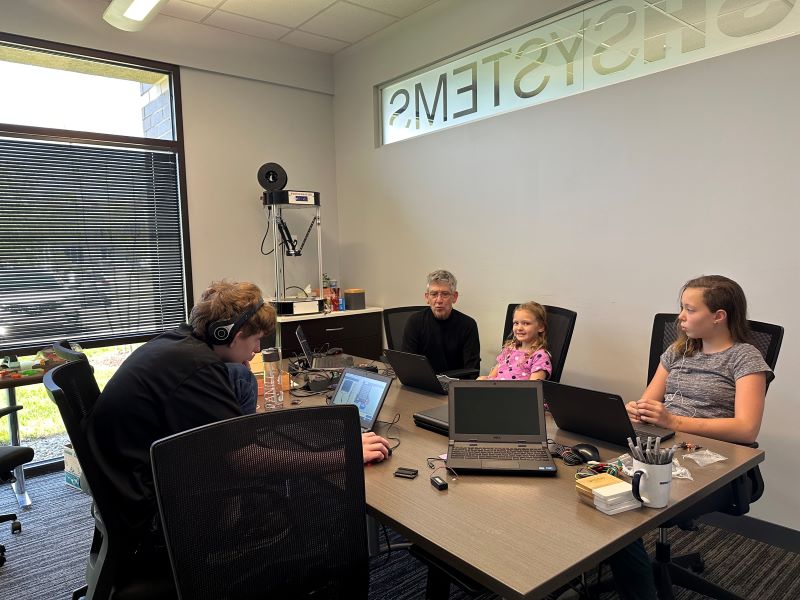
This last week I got to do something different during “bring your kid to work day” – provide additional STEM activities for the kids that came to MESH Systems in Carmel, Indiana. The idea came about when a parent in Greencastle, who often brings his child to Castlemakers, wasn’t sure if there would be enough to keep his son interested all day. Since his son really enjoys stopping by the makerspace, and he knew we’ve done many youth programs in the area, he asked if we could do something at his office. After some discussions with their HR person, we were able to put together an afternoon STEM session at Mesh.

Learning how to program a micro:bit using Makecode.
Programming a micro:bit using Makecode.

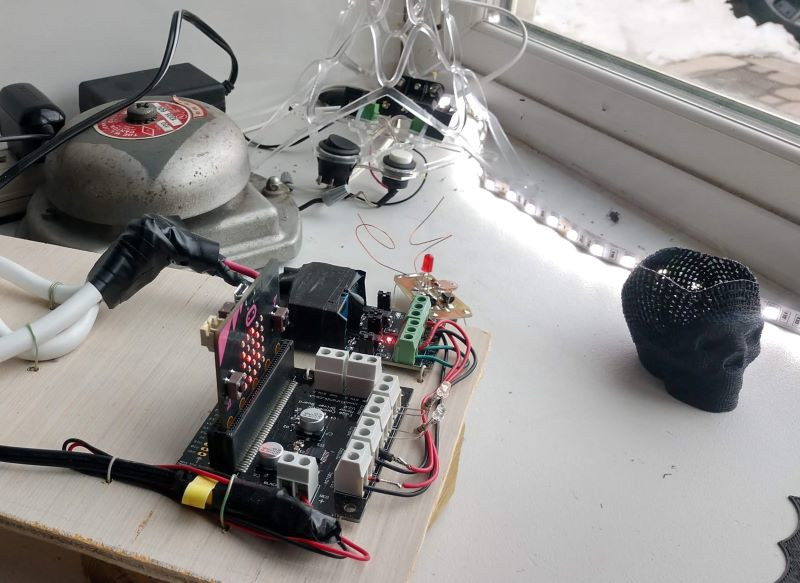
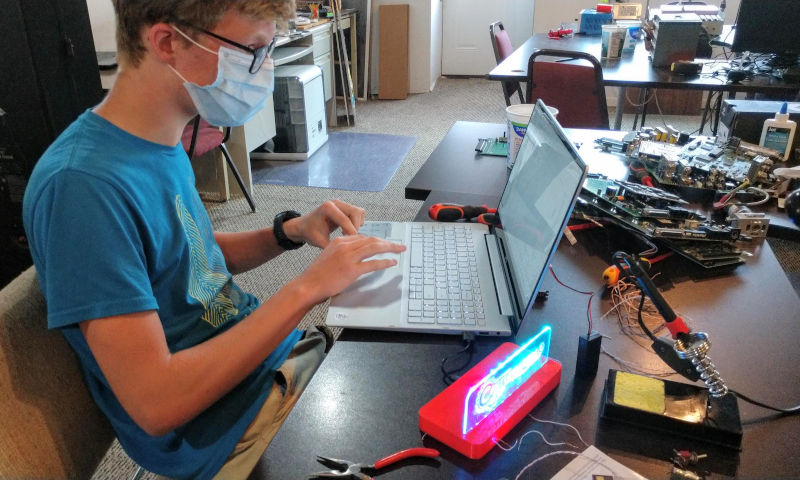
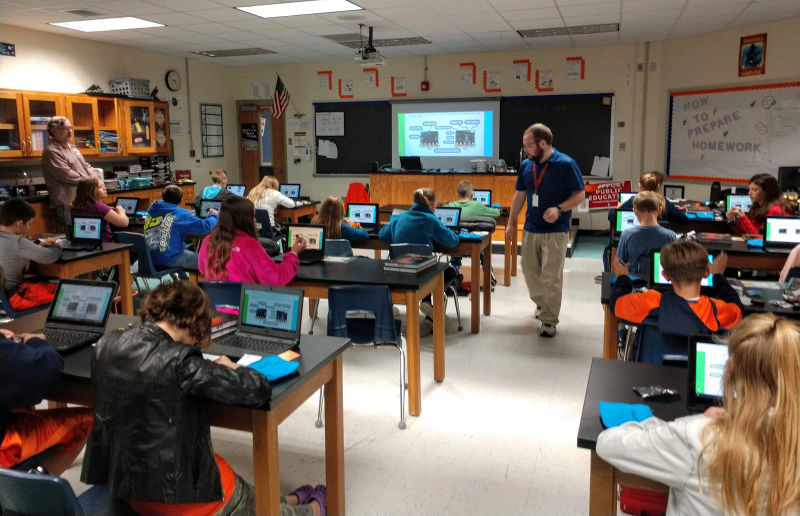
We began by going over the micro:bit by demonstrating beginning programming on the IoT like device. It’s been one of our favorite single board computers since we gave them away to every 6th grader in Putnam County. The MakeCode web interface, where you can use block based programing or even JavaScript & Python, allows you to accommodate different levels of programming knowledge – important when doing a group of mixed ages kids. As expected, some picked it up quicker than others but there’s enough projects available at different skill levels to keep everyone busy during the time we had!

Introduction to 3D printing using Tinkercad
Explaining how to export 3D printing files for printing.

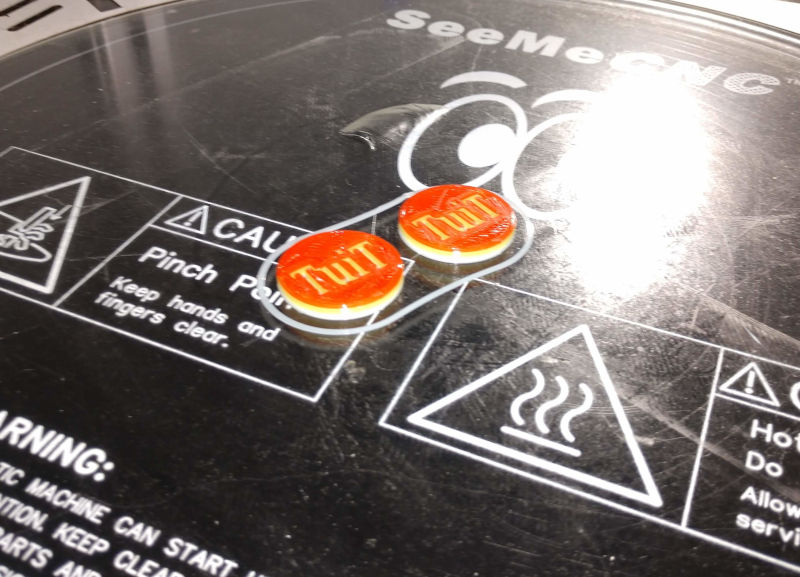
There was also interest in 3D printing, so we started with a quick overview of the printing process. After starting our 3D printer making some parts and explaining how some of the 3D printed parts we brought were made, we had them design their own part to be printed using Tinkercad. The later afternoon kids were more interested in design, so we focused in on using Tinkercad to create objects and how it differed from other 3D design programs. Those that were left had access to other 3D printers, so we finished up on how to export and print their designs.

Thanks to Mesh Systems for giving us the opportunity to teach some of their kids about single board computing and 3D printing design!

micro:bit Interfacing

Castlemakers advanced micro:bit class.
Our 5/1 class on learning about micro:bit interfacing.

Last weekend we had our advanced micro:bit class that was cancelled last year due to Covid. Ian Girvan, one of our members, taught the class & everyone there learned a thing or two about the more advanced features of this IoT like device. The class was taught using v1.6 of the micro:bit, v2’s released last November are still almost impossible to find; versions are similar enough it doesn’t make a real difference.

Participants learned how to use a breakout board to connect lights, sound, & control a DC motor with a micro:bit. They even got the chance to use a light sensor & variable resistor as input to control a LED.

Our next class, coming up on May 29th, will be a ‘learning to solder’ class where folks make a little jitterbug robot that starts moving when the light sensor detects darkness. We’ll soon be adding a lot more light/solar projects and classes with some upcoming makerspace additions in the next few months.

advanced Micro:bit class

micro:bit controlling a bell & light string.
micro:bit with a relay controlling an alarm bell & LEDs.

Now we’re able to have classes at the Makerspace again, last Saturday there was a free ‘Intro to micro:bit’ class for anyone interested. It went well, with several attendees liking it so much they signed up on the spot for our next micro:bit class which will cover the device in even more detail.

This coming Saturday, May1st at 1 pm, we’ll cover using external devices with a micro:bit, including hooking up light strings, switches, and even a motor to the single board computer given to all 6th graders in Putnam County. This will be an all ages class however, the simple and powerful IoT like device can be programmed by anyone from 8 to 80. We’ll have everything you need for the hands-on class where you’ll learn to control a string of neopixel lights and no previous experience is needed. Learn more about it on our classes webpage.

Start of a New Year

3D printed round tuit
Multi-color Round Tuits designed in January 3D printing by class attendee David.

It’s exciting to be able to offer classes again, even though with a reduced size and constraints due to Covid. Introduction to 3D Printing will be offered on January 23rd at 1 pm and our popular Introduction to Laser Cutting/Engraving on February 20th. We’re hoping there’s also interest in some micro:bit classes, refer to our classes page for more information.

We’ve continued to experiment, a lot, with the micro:bit since giving them away to youth in the fall of 2019. The micro:bit capability is still impressive for a device that size. In the window of our Franklin Street location you can see several micro:bit projects, including some that have been written about before.

Window micro:bit that remotely flashes lights & rings an alarm bell!

One of the more mysterious window projects uses the micro:bit’s internal bluetooth radio. There’s been a micro:bit for some time that sends scrolling text and can control a string of lights and a rather loud alarm bell if the right text is sent wirelessly from another micro:bit to the window unit.

Hint: the words to send are obvious, it’s easy to program in MakeCode, and use Radio Set Group 1. It even works from outside! I’ll link later to some more detailed additional help.

Edge Lit with micro:bit

We’ve still had projects at Castlemakers this summer, even with the Covid shutdown hampering our hands-on education efforts. One that I’m excited/impressed with is a high school student built project that includes programming, electronics, 3D printing and using a laser cutter – all made with items at the Makerspace!

Programming the micro:bit to control the LED light strip using MakeCode, a block based programming language.

Ever since we gave every 6th grader in Putnam County a micro:bit last year, we’ve wanted to do more micro:bit projects to help youth and adults see the power of microprocessors and IoT devices. And to get a chance to expose and use some of the some different fabrication tools often found in a makerspace. This summer Hunter Miller made a really interesting project, an edge lit sign controlled by a micro:bit. It looks a bit like an emergency exit sign with a disco like effect and instead our logo on it.

The design and case was modified from something created at the Cambridge UK makerspace, who was looking to create something to experience the different makerspace tools. We used our 50W CO2 laser to cut and etch an insert for a 3D printed case that with led lighting on the edge makes our logo stand out. Hunter, who was looking for something else to do this summer, then cut a section of a 2m LED strip and after some soldering connected the wires directly to a micro:bit. Then he wrote a micro:bit program using MakeCode that makes the LED strip change color and intensity.

Color scrolling mode using addressable LED strip controlled by a micro:bit.

It’s on display right now in our front window on Franklin St. Stop by and take a look or come in and we’ll show you how it works – the different lighting modes may have you dancing!

PCMI and the micro:bit

PCMI kits being made
Ian Girvan and Brian Howard updating & testing each micro:bit before packaging.

With the Putnam County Microcomputer Initiative (PCMI) roll out and distributions, October has been a blur and our blog has fallen behind. A lot still happened, like Putt Putnam County and the PCPL annual Halloween party, but we’ll cover it in future blog posts.

The PCMI started in 2018 from internal discussions about the technology gap in rural communities and how to get more folks interested in technology and coding, especially youth. PCMI was born after seeing a demo of the BBC micro:bit at the 2018 Hackathon in Indy – it seemed like a potential solution! Thought why not put a simple-to-use single board computer, in this case a micro:bit, into the hands of Putnam County youth so they could learn and use them?

We set up an assembly line to put together all the parts for over 500 PCMI kits.

After researching the micro:bit further and writing a Techpoint Foundation for Youth grant to get 10 for first hand experience in our CoderDojo, we decided to use a variation of what was done in the United Kingdom. We would give them directly to all 6th graders in Putnam County. The device is already being used in some US school systems, including NYC’s Computer Science for All and some Project Lead the Way classes, but with Indiana’s computer science curriculum under revision we were hoping for a quicker jump start so folks could recognize the significance of physical computing and that it doesn’t have to be difficult!

micro:bit / PCMI kits being distributed at North Putnam Middle School
Matt Couch goes over the micro:bit /PCMI kits in his North Putnam science class. 3 other Putnam County schools helped.

Luckily for us the Putnam County Community Foundation understood the importance and was willing to fund our idea. All four school systems were also willing to help – so we’ve been rolling out micro:bit kits to the 6th graders in Putnam County during October. Our last distribution, to home school kids at Putnam County Public Library, is on 11/4 and we’ll also be having a community session for parents and anyone else interested at Ivy Tech Community College in Greencastle on Monday November 4th at 6:30 pm. Seeing the excitement of the 6th graders getting and exploring their devices has been a real treat!