One of the things we are proud of is trying to help other organizations when they have a problem or need. So when we got a text about Greencastle’s Parks & Recreation Department needing help in using a recently purchased Computer Numeric Control(CNC) machine, we were more than willing to oblige!
It turns out they had gotten the CNC to engrave pickets for the Emerald Palace, the playground in Robe Ann Park that was being refurbished. Donor names were going to be put on the picket fence around the play area, but having trouble with using their new CNC to get the job done.
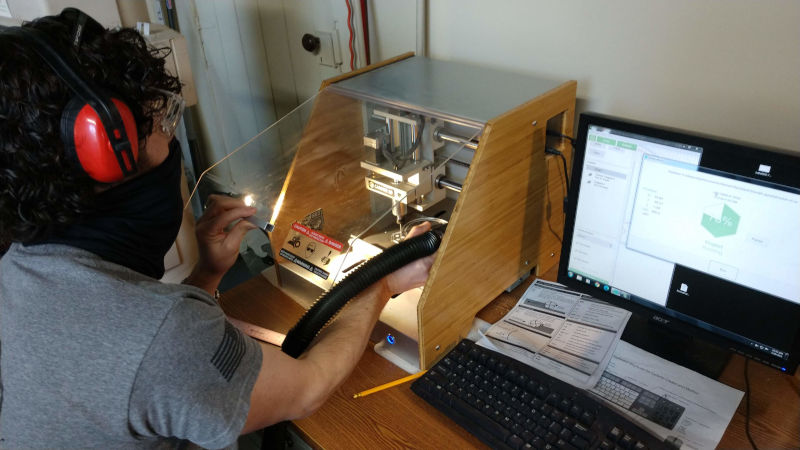
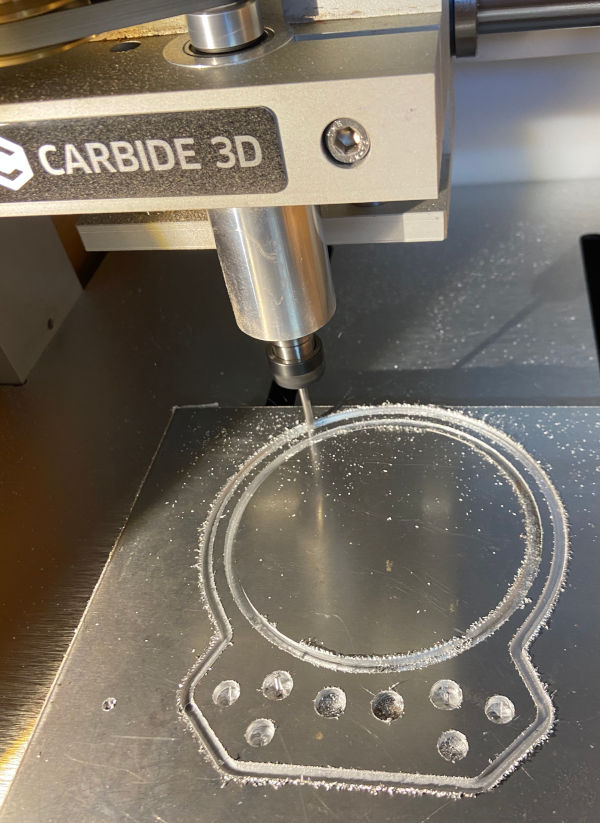
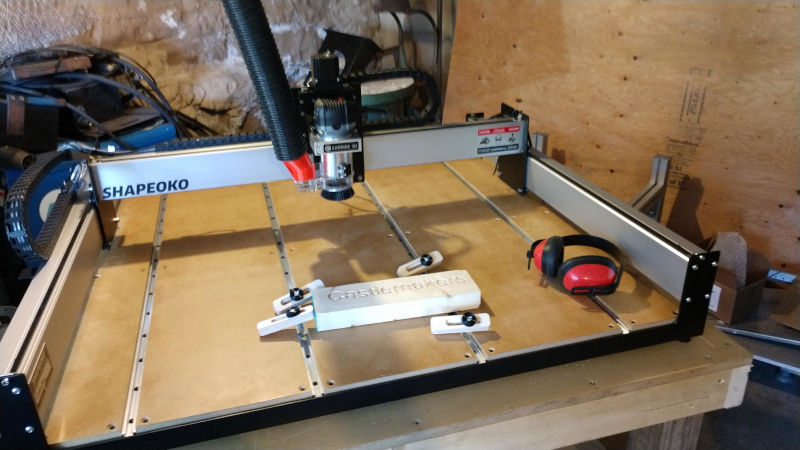
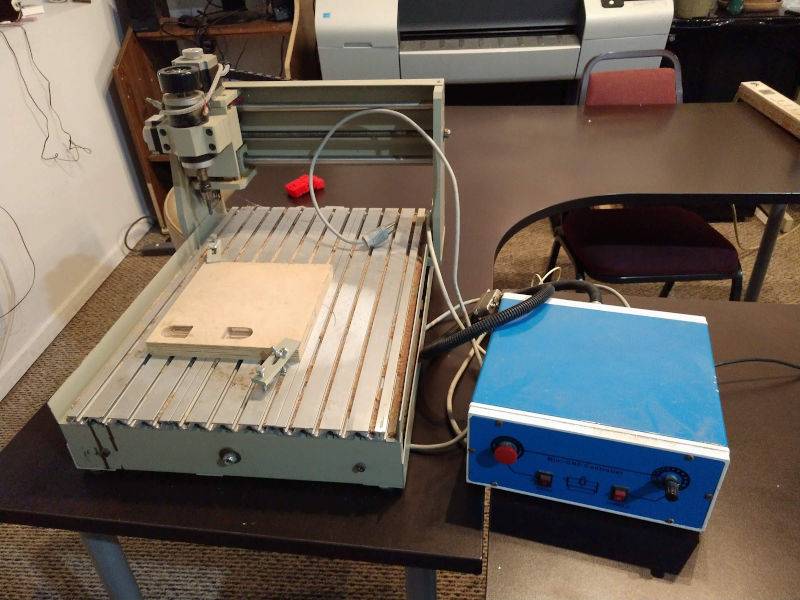
We’ve have a CNC at the makespace, although a different manufacturer, and alos teach classes on how to use a CNC, so glad to help esp since several of our members have a CNC in their home shop also.
One of the things we’ve learned over the years in using and teaching others their operation is in general and specifically for some manufacturer’s there’s a lot of tacit knowledge involved in using one. While a CNC can look relatively inexpensive to buy one, like a lot of other things, without the proper knowledge and software you can get overwhelmed pretty quickly. Or depending on the project it can get expensive quickly by breaking bits or ruining the material you’re using.
After helping them figure out the software they needed and some quick ‘lessons learned & what to watch for’ from one of our more experienced members, they got the job done & the playground is now open. Makerspaces can provide, knowledge, experiences, and assistance to others – along with a lot of other things to help you get things done!